
How to Maintain a Heavy-Duty Truck Alternator (Step-by-Step Guide)

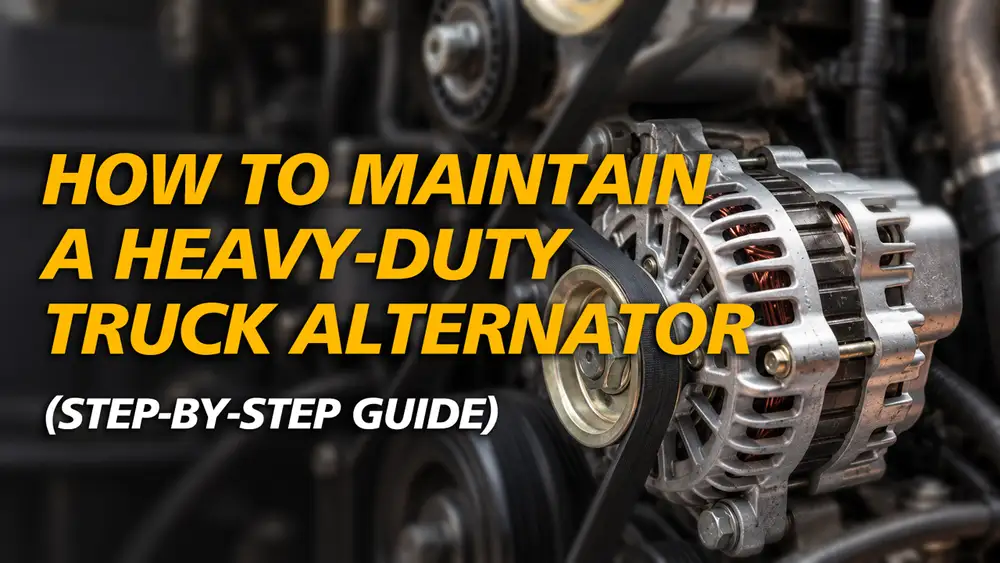
Safety First: Always disconnect the battery negative terminal before any maintenance. Let the engine cool before working near the alternator. Never open the alternator while the engine is running.
Quick Answer: How Often Should You Maintain Your Alternator?
- Every month: Visual inspection, belt check, terminal check (~10 minutes)
- Every 3–6 months or after long hauls: Belt tension gauge, bearing listen-test, voltage test under load
- Every 2 years or 150,000 km: Replace brushes proactively
- Every 80,000–100,000 km: Replace the drive belt
With this schedule, a heavy-duty truck alternator should last its full 6–10 year design lifespan.
What Is a Heavy-Duty Truck Alternator?
A heavy-duty truck alternator generates alternating current (AC) to power the electrical systems on your vehicle — electronic control units, lighting, sensors, and onboard equipment. Maintaining it protects the entire electrical system and prevents roadside breakdowns.
A well-maintained heavy-duty truck alternator can easily reach its full 6–10 year lifespan — but neglect is the number-one reason they fail early.
New to charging systems? Read our Alternator vs Starter: What’s the Difference? guide first — it covers how the alternator works and how to test it in 60 seconds.

Part I — Routine Inspections (Monthly)
Most heavy-duty truck alternator problems start small. A 10-minute monthly routine catches them…
1. Visual Inspection & Cleaning
- Remove surface dirt: Use a soft brush or compressed air to clear dust, oil, and debris from the housing. Keep ventilation holes unobstructed — built-up dirt causes overheating.
- Check belt condition: Inspect for cracks, hardening, or edge separation. Press the belt at its midpoint: ~10 mm deflection is normal; more than 15 mm means it’s too loose and needs adjustment.
2. Electrical Connections
- Tighten terminals: Check the nuts on the battery positive post, alternator output (B+) terminal, and ground straps with a wrench.
- Clean corrosion: Scrub oxidation with a baking soda solution, then coat with petroleum jelly to prevent rust.
- Inspect wire insulation: Look for chafed or aged cables that could cause shorts.
3. Quick Voltage Test
Start the engine and measure battery voltage with a multimeter (reference: Battery Council International charging guidelines):
| System | Normal at idle | Abnormal reading means |
|---|---|---|
| 12V | 13.8–14.8V | Faulty regulator or belt slippage |
| 24V | 27.6–29.6V | Faulty regulator or belt slippage |

Part II — Periodic Deep Maintenance (Every 3–6 Months or After Long Hauls)
💡 Steps 3 and 4 below require partial disassembly. If you’re not comfortable with electrical work, this is a good point to hand it to a certified technician.
1. Belt Tension Adjustment & Replacement
- Adjust tension: Use a belt tension gauge, or press the belt midpoint — aim for roughly 10 mm deflection (confirm your exact spec in the OEM service manual).
- Replace if: Cracks or hardening are visible, or at 80,000–100,000 km regardless of appearance.
2. Bearing Inspection
- Listen for noise: With the engine running, hold a stethoscope (or long screwdriver) against the alternator housing. A humming or grinding sound indicates worn bearings.
3. Brush & Slip Ring Service
- Measure brush length: Disconnect power, remove the rear cover, and measure. Replace brushes worn to less than 1/3 of original length.
- Polish slip rings: Use 600-grit sandpaper, moving in the direction of rotation only, to remove oxidation. Wipe clean with alcohol afterward. → Shop alternator brushes
4. Rectifier & Diode Test
Set your multimeter to diode mode. Red probe on the rectifier’s positive terminal, black probe on each phase terminal:
- Normal: 0.5–0.7V one way, infinite (OL) the other way
- Abnormal both ways: Replace the rectifier bridge
Part III — Safety Precautions
- Disconnect power first: Always remove the battery negative terminal before maintenance to prevent accidental shorts.
- Anti-static handling: Wear an anti-static wristband when touching electronic components (regulator, rectifier).
- Hot surfaces: Let the engine cool fully before working — alternators and exhaust components cause burns.
Part IV — Common Troubleshooting
These are the three most common heavy-duty truck alternator symptoms our parts specialists see:
| Symptom | Possible Causes | Solutions |
|---|---|---|
| Charging warning light stays on | Broken belt, faulty regulator | Check belt tension, test regulator output |
| Unstable voltage output | Poor brush contact, failed diode | Clean slip rings or replace rectifier |
| Alternator noise | Worn bearings, misaligned pulley | Replace bearings or realign pulley |
Part V — When to Seek Professional Repair
Some failures need shop equipment and should not be DIY’:
- Rotor coil short or open circuit (needs specialized test bench)
- Stator burnout (burnt smell or visible smoke)
- Complex circuit faults (e.g., ECU-controlled charging errors)
Part VI — Tips to Extend Alternator Lifespan
- Avoid prolonged idling: Low alternator RPM during long idles leads to chronic battery undercharging, which overworks the alternator on the next drive.
- Rainy season protection: After driving through deep water, inspect for water ingress; apply waterproof coating to connectors if needed.
- Replace brushes proactively: Every 2 years or 150,000 km — cheap insurance against a roadside failure.
📋 Important: Alternator designs vary by brand (Cummins, Weichai, Mercedes-Benz, etc.). Always follow the OEM manual for torque specs and disassembly sequence. For complex issues, contact an authorized service center.
Follow this schedule and your heavy-duty truck alternator will outlast most other components on the truck.
Bottom Line
Every truck owner wants to extend the life of their vehicle, and consistent maintenance is the most effective form of prevention. Waiting until components fail before taking action leads to costly repairs and unnecessary downtime. AmoParts is committed to supplying high-quality aftermarket parts that keep your heavy-duty truck running at its best — mile after mile.
We know heavy-duty trucks demand reliable components for hauling heavy loads over long distances. That’s why every AmoParts heavy-duty truck alternator goes through rigorous quality control and testing, built to perform in the toughest operating conditions. Welcome to browse our selection — and contact us if you need help finding the right part for your truck.
Want to understand how these two components differ and how to spot early signs of failure? Check out our in-depth comparison — knowing the unique role of each will help you maintain your heavy-duty truck more effectively and avoid roadside breakdowns.


