
A Guide to Checking Engine Oil Level and Reading the Dipstick

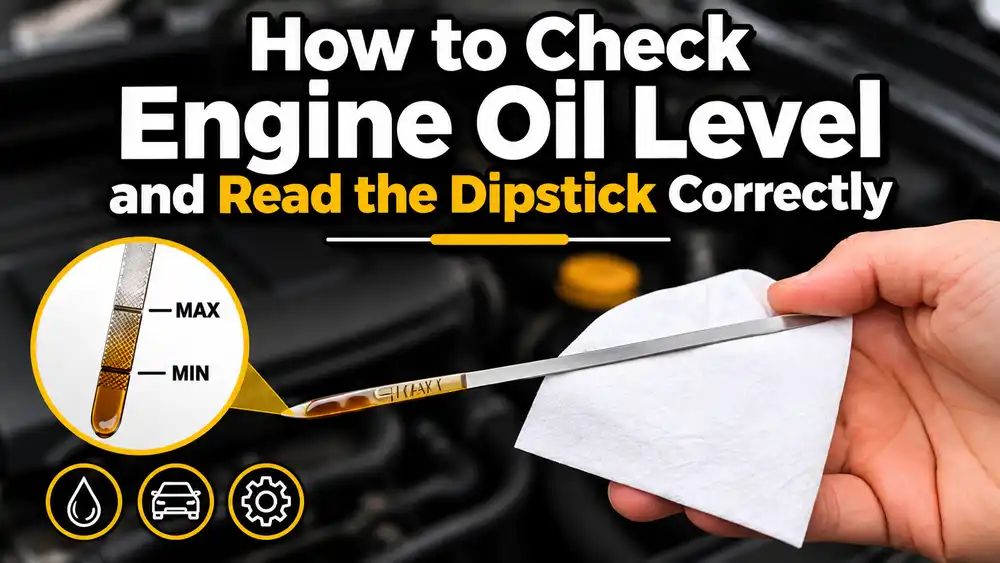
Whether it’s heavy equipment or road vehicles, engines contain a large number of moving parts, and the proper operation of these parts depends on an adequate supply of engine oil. Most equipment also consumes a small amount of engine oil during operation. Insufficient engine oil can lead to serious engine failure, so it is crucial to check oil consumption regularly; otherwise, you may face costly repairs. Fortunately, preventive measures are very simple: by learning how to properly check the oil level, read the dipstick, and top off the oil in a timely manner, you can avoid most serious problems. This guide will walk you through each step in detail, helping you master the necessary knowledge to ensure your equipment always runs at peak performance.
Before You Pull the Dipstick
Park on level ground, lower the attachment, set the brake, and shut the engine down. Use the engine manual’s waiting time so oil can return to the sump. For one Perkins dipstick application, the maker says to wait 5 to 10 minutes with the engine off and the machine level; that is an example, not a timing rule for every engine. See the Perkins dipstick guidance.
Keep dirt out of the tube. Wipe around the handle before removal, as Cat’s service guide advises. Use a clean, lint-free cloth on the stick. Do not check beside moving belts or a hot exhaust.
How to Check the Engine Oil Level in 5 Steps
Step 1: Park Safely and Prepare
Park the machine on level ground, set the parking brake and shut the engine off. Wait for the time stated in the operator’s manual so the oil can drain back into the sump. Reading too early can show a false low level. Keep a clean, lint-free cloth or paper towel ready.
Step 2: Find the Engine Oil Dipstick and Clean Around It
Locate the engine oil dipstick using the machine manual. It often has a yellow or red handle. Some machines also have a hydraulic oil dipstick or sight glass nearby. These measure a different system, so do not mix them up. Wipe the handle and the area around the tube base before you pull the stick, so dirt does not fall into the engine.
Step 3: Pull and Wipe It Clean
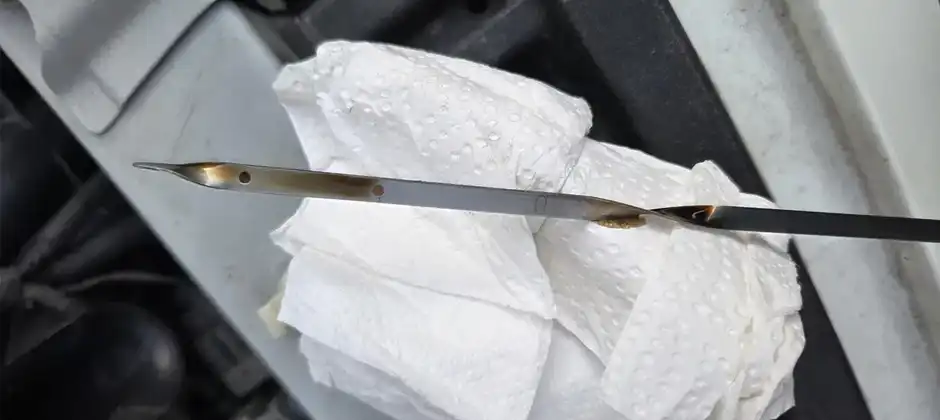
Pull the dipstick out without rubbing it against dirty engine parts. Wipe the blade from handle to tip. The first mark is only a smear from the tube, not a reliable level.
Step 4: Insert It Fully and Pull It Out Again
Push the dipstick all the way in until the handle or cap is fully seated. A partly inserted stick gives a false reading. If it will not seat, check the tube and the stick instead of forcing it. Then pull it out and hold it nearly horizontal so the oil does not run along the blade.
Step 5: Read the Level and Check the Oil
Check both faces of the blade and use the clearer, more consistent mark. If the two faces disagree, wipe and repeat. Note whether the oil is below the lower mark, within the range or above the upper mark.
Also look at the oil itself. Milky oil, or a level that rises without a top-up, can signal coolant entering the oil. If you see either, do not just top up. See our oil cooler leak guide for how to confirm the cause.
Top up only with the oil grade in the manual, and do not overfill. Refit the dipstick securely so the seal keeps dirt out. A quick photo of the mark helps the next technician compare readings after service.

How to Read Dipstick Oil Levels
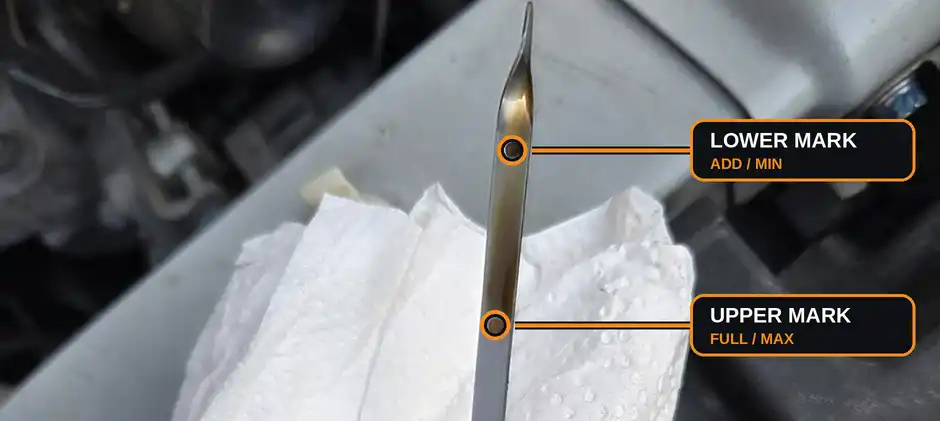
Most dipsticks show a permitted range with two lines, holes or a hatched area. The lower mark may say ADD or MIN, and the upper mark may say FULL or MAX. Markings differ between manufacturers, so always check the label on your stick and the engine manual.
Level 1: Below the Lower Mark
Top up before running. If the oil film ends at or below the lower mark, the sump is too low. Add the specified oil in small amounts, wait for it to settle, and read again. Running the engine with too little oil risks poor lubrication and engine damage.
Level 2: Between the Marks
Oil between the two marks is generally in range when checked under the conditions stated for that engine. If it sits close to the lower mark, topping up in small amounts is sensible, but do not fill above the upper mark.
Level 3: At or Near the Upper Mark
This is usually where you want it. A level at or just below the upper mark needs no action.
Level 4: Above the Upper Mark
Do not run the engine overfilled. Too much oil can be churned into foam by the crankshaft, which may reduce lubrication. If you find the level above the upper mark, follow the manual’s procedure to correct it before running the engine.
Do Not Rely on Generic Rules
Do not assume the gap equals one quart or one liter. The amount varies with sump and dipstick design. Add oil in small amounts and stop at the correct mark instead of filling above it.
Some industrial engines even have separate stopped-engine and running-engine marks. That is why the label on the stick and the exact engine manual matter more than a generic photo online.
Check the Oil Condition, Not Just the Level
Milky oil, or a level that rises without a top-up, can signal coolant entering the oil. If you see either, see our oil cooler leak guide for how to confirm the cause.
What the Oil Condition Is Telling You
The dipstick does not just show level. The oil appearance gives you useful information.
| Oil Appearance | What It Indicates |
|---|---|
| Amber or light brown, smooth | Fresh or good condition oil |
| Dark brown, still smooth | Used but not degraded, normal |
| Black and thick | Overdue for change |
| Milky or grey | Coolant contamination — serious issue, see a mechanic |
| Foamy or bubbly | Air in the oil — possible overfill or internal issue |
| Gritty or metallic particles | Internal engine wear — get it inspected |
In Indian conditions — dust, heat, stop-and-go traffic — engine oil tends to darken faster than in moderate climates. Dark oil alone is not always an emergency, but it is a clear signal that a service is approaching.
What If the Reading Looks Wrong?
Below the lower mark: Check for leaks, recent filter or drain-plug work, and oil consumption. Add only the oil grade the engine manual specifies. If a low-pressure warning appeared, do not treat topping up as proof that pressure is safe; follow the low oil pressure guide.
Above the upper mark: Confirm the machine is level and repeat the measurement after the proper wait. An overfill can be a service error. A rising level can also signal fluid entering the oil, so note any fuel smell, unusual thinness, or coolant loss and investigate before running.
Foam, milkiness, or an unstable mark: Repeat the check with a clean stick. If the appearance remains abnormal, stop and inspect the oil and coolant rather than guessing from color alone. A dipstick shows level and visible condition; it does not identify a failed gasket, cooler, or injector by itself.
When Is the Dipstick Itself the Problem?
A bent blade, missing seal, broken handle, worn marks, or wrong-length replacement can spoil the reading. Perkins notes that sump volume and engine application can require a different dipstick length and position, even within a family. Match the old part number, engine serial or build list, tube, and handle seating before replacing one.
Amoparts lists engine sticks for Cummins 4BTA3.9, 6CT, and 6BT applications alongside separate hydraulic sticks. That catalog split is a useful reminder: a hydraulic-tank stick is not an engine-oil substitute, and a similar handle does not establish fit.
Final Check
A trustworthy dipstick reading needs three things: a level machine, the engine’s specified check condition, and a stick that seats where it should. Wipe, reinsert, read both faces, and repeat any doubtful result. If the level keeps moving after a correct check, investigate the cause before the next shift.
If the stick is damaged or its markings have vanished, look through the dipstick selection. Not sure which length belongs in your engine? Ask Amoparts with the machine and engine serial numbers plus photos of the old stick and tube. A correct replacement turns a daily check back into useful evidence.


