
Diesel Engine Oil Cooler Leak: 4 Signs and How to Confirm It

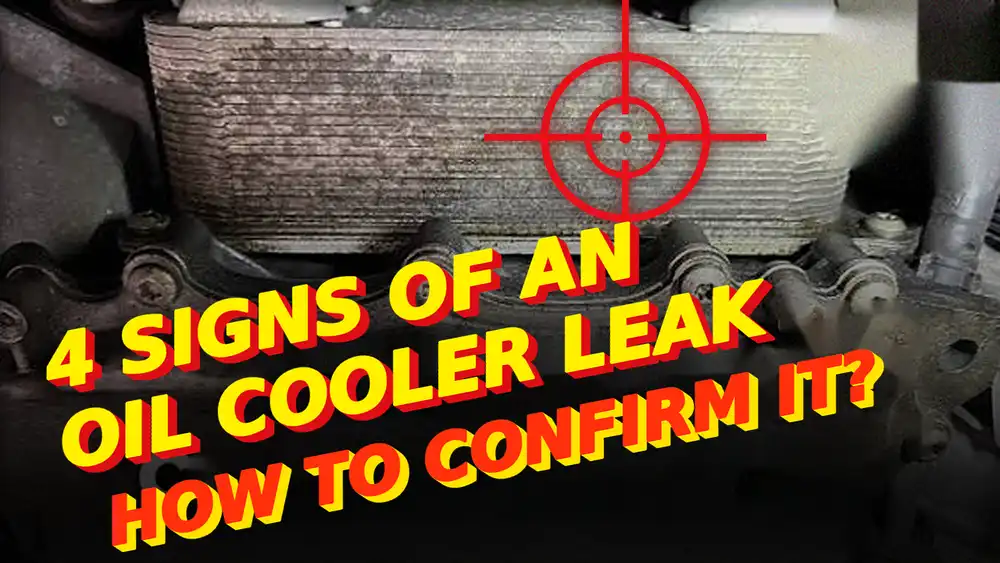
Is your diesel engine running hotter than usual, or is the coolant looking oily? Both can point to a diesel engine oil cooler leak, but they can also point to other problems, so it pays to check properly before you spend money on parts.
An oil cooler works like a mini radiator for your engine oil, keeping it cool enough to protect moving parts. If it fails, oil and coolant can leak out or mix inside the engine, which may lead to overheating and poor lubrication.
Key Takeaways
- Fluid at the cooler, oil in the coolant, coolant in the oil, and warning lights are the four main signs.
- Each sign points toward the cooler, but none proves it on its own.
- Stop the engine if oil pressure drops, the temperature warning comes on, or oil and coolant appear to be mixing.
- Confirm first: record the evidence, clean and trace the leak, then test to the engine manual before ordering parts.
What Is an Engine Oil Cooler Leak?
An engine oil cooler moves heat from the oil to coolant or air, depending on the design. A leak may be external, at a hose, fitting, gasket, or cooler housing. A failed internal core or seal can also let oil and coolant cross between circuits on a coolant-cooled unit.
Those two leak paths call for different repairs. A wet gasket joint does not prove the core is cracked. Likewise, oil in the expansion tank does not prove the cooler is the only possible source.
Why Do Engine Oil Coolers Leak?
Seals harden, flatten, or get damaged during service. Hose ends and threaded joints can loosen or corrode. Vibration may wear a line against a bracket, while overheating or corrosion can damage the cooler itself.
The joint deserves attention before anyone orders a complete unit. Cat’s cooler gasket is a separate service part for some mini excavators; its listing identifies the cooler-to-block seal as a potential leak point. That listing is an example, not a fitment recommendation for other engines.
4 Signs of an Oil Cooler Leak
1. Oil or Coolant Appears at the Cooler
This is the sign you can usually spot first. Look for fresh fluid at the cooler body, hose connections, filter base, and mounting joint.
- What it may mean: a leaking hose end, fitting, gasket, or cooler housing.
- Don’t assume: oil that starts higher up can simply run across the cooler and look like the source.
- Next step: clean the area, then trace the first wet point, not the lowest one.
2. Oil Appears in the Coolant
An oily film or dark residue in the coolant tank is a warning sign. It can point to a failed oil-to-coolant seal or cooler core.
- Don’t assume: it does not identify the failed part by itself, and the cooler is not the only possible source.
- Next step: keep the engine off until a technician checks the leak path and how far the contamination has spread.
3. Coolant Appears in the Engine Oil
Milky oil, an unexplained rise in oil level, or a falling coolant level can signal that coolant is getting into the oil.
- Don’t assume: not every contaminated sample looks milky. A visual check can miss it.
- Next step: use fluid analysis, which can detect water or glycol the eye cannot.
4. Temperature or Oil-Pressure Warnings Follow Fluid Loss
A leak can lower oil or coolant level enough to trigger a warning.
- Urgent, but not conclusive: rising temperature or falling oil pressure needs attention now, yet neither reading names the oil cooler as the cause.
- Next step: if oil pressure falls, follow the machine’s shutdown procedure and confirm the fault before replacing parts. Our low oil pressure guide covers that separate check.
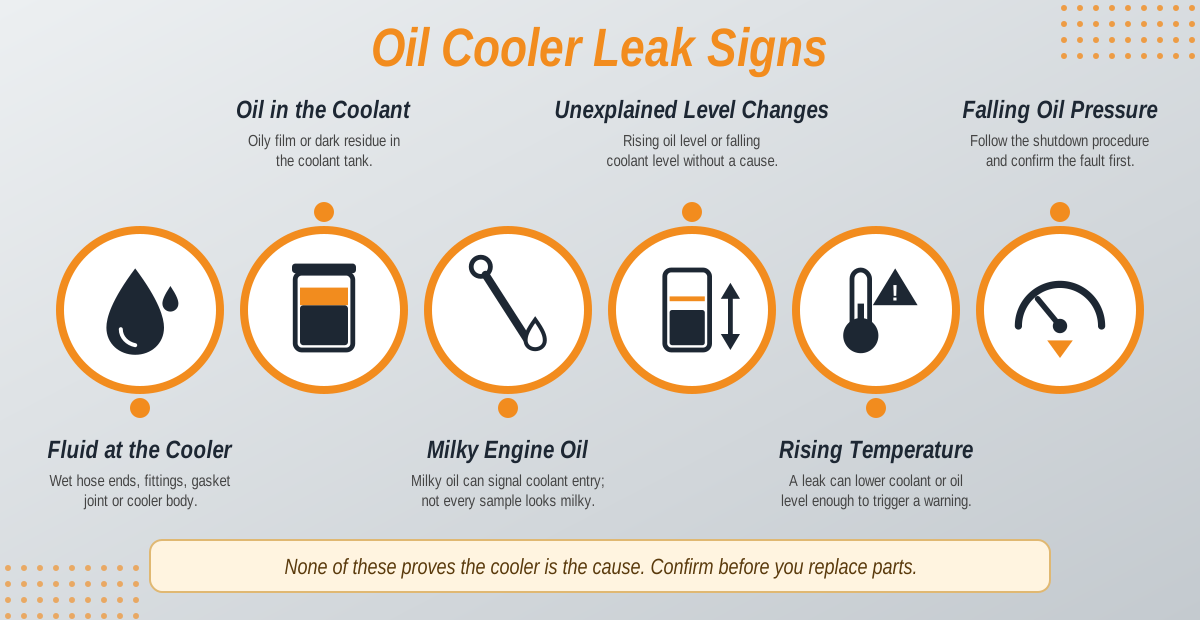
Oil Cooler Leak Signs at a Glance
| Sign | What it may mean | Don’t assume | Next step |
|---|---|---|---|
| Fluid at the cooler | A leaking hose end, fitting, gasket, or cooler housing | Oil from higher up may just be running across the cooler | Clean the area, then trace the first wet point |
| Oil in the coolant | A failed oil-to-coolant seal or cooler core | The cooler is not the only possible source | Keep the engine off until a technician checks the leak path |
| Coolant entering the oil circuit; the entry point still needs to be found | Coolant getting into the oil | Not every contaminated sample looks milky | Use fluid analysis to detect water or glycol |
| Temperature or oil-pressure warnings | Fluid loss from a leak | Neither reading names the oil cooler as the cause | Follow the shutdown procedure and confirm the fault before replacing parts |
Use the table as a quick check, then confirm the cause below.
Should You Keep Running a Leaking Machine?
Stop if the oil-pressure or coolant-temperature warning comes on, fluid loss is active, or oil and coolant appear to be mixing. Do not keep running the engine to “see if it clears.” A short inspection with the engine off is safer than turning a seal repair into bearing or cooling-system damage.
If the only evidence is a small external stain and all readings are normal, do not assume the machine is fit for another shift. Find the leak source, check both fluid levels, and use the engine maker’s service limits to decide whether a controlled diagnostic run is safe.
What Can an Unfixed Oil Cooler Leak Damage?
An external oil leak can lower the sump level. A coolant leak can leave the engine short of cooling capacity. Internal cross-contamination can spread through the lubrication or cooling system, adding cleaning and fluid service to the repair.
Cummins’ coolant-loss bulletin lists leaking oil coolers among several possible internal leak paths. It also lists head gaskets, heads, liners, and blocks. That is why a contaminated tank should start a diagnosis, not a cooler order.
How to Confirm an Oil Cooler Leak
Step 1: Record the Evidence
Let the engine cool. Note the oil and coolant levels, warning messages, recent service, and where fluid first appeared. Take photos of the cooler, its lines, and the area above it before cleaning.
Step 2: Separate the External Leak Paths
Clean the housing and nearby joints. Inspect hose crimps, fittings, the filter base, the mounting gasket, and the cooler body. If the engine can be run safely, watch for the first fresh leak.
Step 3: Test the Cooling Circuit to Its Manual
Use the engine or machine service procedure to pressure-test the cooling system. Don’t use a pressure from another machine or a generic guide. If oil and coolant have mixed, sample both fluids and identify which circuits are affected.
Step 4: Test the Cooler Separately if Needed
If the evidence still points to an internal leak, remove or isolate the cooler as the service manual directs. Test the cooler element at the pressure specified for that component. If it passes, investigate other leak paths before calling it defective.
Repair the Failed Part, Then Clear the Contamination
Replace the leaking hose, fitting, gasket, housing, or cooler core indicated by the test. Use the correct seals and torque sequence from the engine manual. Match the engine serial number and cooler part number; a similar-looking casting may have different ports or mounting faces.
When oil and coolant have crossed, changing the cooler alone does not finish the job. Follow the maker’s flushing and fluid-change instructions, replace affected filters, refill and bleed the system, and check for renewed contamination. After the repair, verify levels and readings under a controlled run.
How Can You Prevent Another Oil Cooler Leak?
Inspect the cooler area during routine service, especially after filter or hose work. Keep clamps and brackets secure so lines do not rub. Use the specified coolant and service intervals; corrosion and overheating are easier to address before a cooler joint starts leaking.
Save the old cooler and seals until the repair passes its final checks. Their condition can help explain whether the failure came from a damaged joint, corrosion, or a problem elsewhere in the cooling system.
How Long Does an Engine Oil Cooler Last?
There is no useful universal hour limit. Cooler design, coolant condition, vibration, heat, and previous repairs all affect service life. Replace a unit because testing shows a failed core or damaged housing, not because a generic life estimate has expired.
What Sets the Oil Cooler Repair Cost?
A gasket or hose repair may need fewer parts than a core replacement, but access can change labor time. Internal contamination adds oil, coolant, filters, flushing, and follow-up testing. Ask for a quote that separates the failed part from cleaning and labor so you can compare the real scope.
Final Takeaway
Treat an oil cooler leak as a path to locate, not a part to guess. First decide whether fluid is escaping outside the engine or crossing between oil and coolant. Then test the suspected joint or core against the correct manual; a clean result should send the search elsewhere.
Once testing confirms the leak, you can browse our oil cooler range for a replacement. If the old part number is missing or the ports differ, send Amoparts your engine serial number and photos, and we’ll check the fit. The right repair is the one that seals the leak and leaves both fluid circuits clean.


