
6 Excavator Sprocket Wear Signs and When to Replace It

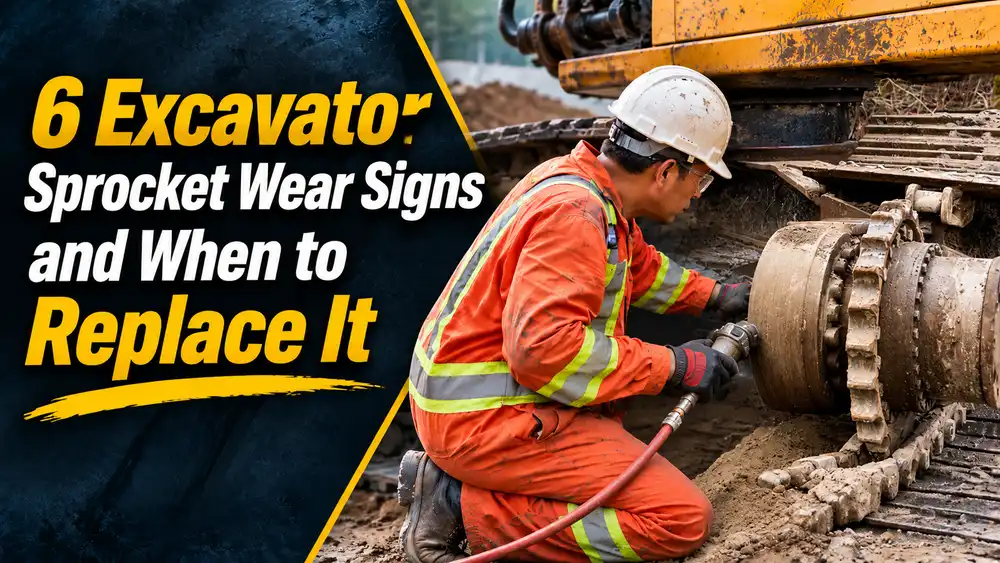
Hooked sprocket teeth, poor track-chain engagement, and a track that jumps during travel all call for an undercarriage check. A cracked or broken tooth needs prompt attention. For ordinary wear, do not rely on a single “50% worn” rule: measure the sprocket and chain against the limits for your machine before deciding what to replace.
The question is not just whether the sprocket looks worn. It is whether its teeth still meet the chain bushings correctly, and whether chain wear or track tension is adding to the problem. Here are six signs to look for and a practical way to turn them into a repair decision.
Why Sprocket Wear Can Become a Larger Repair
The travel motor turns the final drive, which turns the sprocket. Its teeth engage the steel track-chain bushings and move the track around the front idler. The idler guides and tensions the track; rollers support its weight. The sprocket is the part that drives it.
Hydraulic power starts the turning motion.
Gears slow the turn and increase its force.
Its teeth push against the track-chain bushings.
The moving track pushes on the ground, so the excavator travels.
On a new undercarriage, sprocket tooth spacing and chain-link spacing are designed to work together. As the teeth and pin-and-bushing joints wear, those spacings can drift apart. Komatsu’s sprocket guide explains that this mismatch can cause abnormal tooth-and-bushing contact.
That does not mean one bad sprocket always destroys the rollers and idler in a fixed sequence. It means you should check the whole track system before a tooth-and-bushing problem becomes a larger repair. Loose track tension can also make a sprocket jump in the chain, so that symptom alone does not identify the failed part.
6 Excavator Sprocket Wear Signs You Can Check
Park and secure the excavator before inspecting either track. Remove packed dirt so you can see the teeth, tooth pockets, bushings, and fasteners. Compare both sides, but use the service wear limit—not the better-looking side—as your standard.
1. Hooked or Shark-Fin Teeth
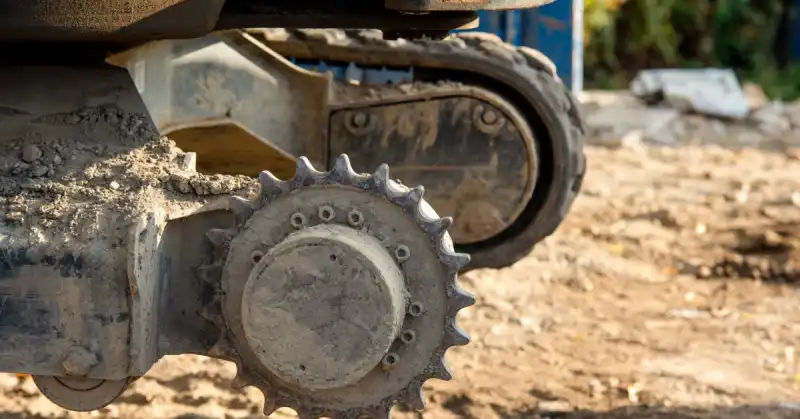
Look at the working face of each tooth. A hooked, thin, or pointed profile shows that contact has changed. It is an easy sign to spot, but tooth shape alone cannot tell you the percentage of wear.
Check the tooth with the gauge or method specified for that sprocket. Inspect the bushings it drives as well. A new sprocket may still mesh badly with a chain whose joints are worn.
2. Worn Tooth Pockets and Roots
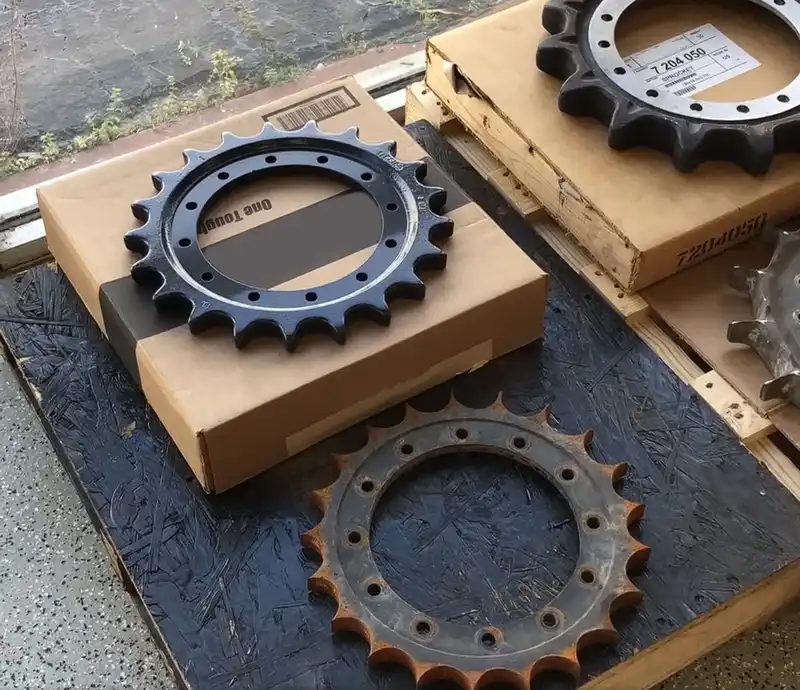
The pocket between teeth is where a chain bushing seats. If it looks deeply worn, uneven, or damaged near the tooth base, compare its depth with the correct new-part dimension and wear chart. Check the most-worn area, not only a clean tooth at the top.
A rounded root is not proof that “20% wear doubles track breakage.” That claim needs a test method and a matching track design. A part-specific measurement is more useful than a percentage guessed from a photo.
3. Poor Tooth-to-Bushing Engagement
Look for uneven contact marks, unusual gaps, or bushings riding high on the teeth. These can point to worn teeth, worn chain joints, or incorrect tension. They do not, by themselves, tell you which part to order.
Keep hands and tools out of the tooth-and-chain pinch point. Have a trained technician measure chain wear and track tension by the machine’s service procedure rather than pulling the chain away from the sprocket by hand.
4. Track Skip or Chatter During Travel
A track that jumps, catches, or chatters when travel starts needs attention. Severe sprocket wear can cause poor engagement, but a loose track can produce the same symptom. The Strickland track manual warns that lost tension can let the sprocket jump in the chain.
Stop in a safe place and inspect the sprocket, chain, and adjuster. Do not keep driving to “test” how often it skips, and do not have anyone stand beside a moving track.
5. New Rhythmic Vibration on One Side
Pulsing during travel may come from damaged teeth or uneven chain engagement. It may also come from a stiff link, roller, or final-drive issue. Note when the vibration happens and whether it follows one track.
Use that observation to guide the inspection, not to condemn the sprocket without a measurement. Replacing a good tooth ring will not fix a failing roller or a chain that cannot hold tension.
6. Cracks, Broken Teeth, or Loose Segments
A cracked or missing tooth, bent sprocket, or loose segment bolt is more urgent than normal profile wear. Stop and have the damage checked before the machine returns to work. A damaged part can bind or lose reliable engagement with the chain.
Check the mounting surface and neighboring fasteners too. Some excavators have a one-piece ring; others have bolt-on segments. The repair scope depends on which design is fitted and what else was damaged.
When Should You Replace an Excavator Sprocket?
Replace a cracked or broken sprocket promptly after a technician confirms the damage. For gradual wear, use the gauge or dimensions for the actual part number and inspect the chain at the same time. A wear percentage without a measurement point and part-specific chart is not a usable replacement limit.
You may see advice to plan at 30% or replace at 50%. Those figures are not universal. Strickland publishes tooth-depth values at 25%, 50%, 75%, and 100% for specific sprocket numbers, yet also says sprocket wear is hard to assess accurately because it is uneven. Its chart is a part-specific method, not a 50% rule for every excavator.
The same applies to “replace within 200 hours.” A shop may set that target after measuring a serviceable part and planning downtime. It is not permission to run a track that jumps, binds, or has a broken tooth for another 200 hours.
What Can Delaying the Repair Cost?
The cost of delay depends on the machine and what the inspection finds. A sprocket-only job can become a sprocket-and-chain job when both are worn. Rollers, idlers, and adjusters belong on the estimate only if their own condition calls for repair.
For scale, an illustrative $800 sprocket quote and an $8,000 wider undercarriage quote are tenfold apart. They are not current market prices, a forecast, or figures from a customer invoice. Get written quotes for the actual machine before using either amount in a decision.
A mining customer described an undercarriage repair that grew after early wear signs were left unchecked. We are leaving out the customer’s site and machine details here. The practical point is to document tooth, chain, and tension condition while the repair may still be limited in scope—not to claim every worn sprocket causes the same bill.
A Safe 10-Minute Sprocket Walkaround
This is a quick visual screen, not a full wear measurement or a promise that every machine can be diagnosed in ten minutes.
- Park and secure the machine. Follow its shutdown and blocking instructions. Do not inspect a moving track.
- Clear the view. Remove packed mud from the drive end only when the machine is safely stopped.
- Scan each visible tooth and pocket. Look for hooks, deep wear, cracks, broken tips, and uneven contact marks.
- Check bushings and fasteners. Note damaged bushings, loose segment bolts, and differences between the left and right tracks.
- Check the track setup. Record visible sag or an adjuster leak, then have a technician measure tension by the service manual.
- Record what needs measuring. Photograph the worst tooth and old part number. Arrange a formal sprocket-and-chain check if you see wear, jumping, or vibration.
Cat’s maintenance checklist recommends an undercarriage check before each shift and notes that tracks that are too tight or too loose can speed chain and sprocket wear. A repeatable walkaround helps catch change; the model-specific inspection decides the repair.
Replace the Sprocket Alone or With the Chain?
Do not replace both by habit, and do not install a new sprocket against a badly worn chain without checking fit. Ask for recorded sprocket wear, chain pitch or link wear, bushing condition, and track tension on both sides. Those results show whether the parts can continue to work together.
If the chain is within its service limits, a sprocket-only repair may be reasonable. If its joints are worn and no longer match the sprocket pitch, replacing only the sprocket may leave poor engagement in place. Confirm the decision with the machine maker’s wear limits and the technician’s measurements.
Match the Replacement to the Machine
Start with the machine model, serial number, and any number on the old sprocket. Confirm the tooth count, bolt count and pattern, hub fit, offset, and whether the machine uses a one-piece ring or segments. Similar-looking sprockets can have different mounting details.
Before installation, check the hub and fasteners for damage. A qualified technician should follow the machine’s lifting, torque, and track-adjustment instructions. After the repair, set track tension to specification and check engagement under controlled conditions.
Final Takeaway
A hooked tooth is a useful warning, but it is not a complete diagnosis. Check the chain bushings, track tension, and measured tooth wear together. If the track jumps or a tooth is cracked, stop and resolve the fault before normal travel resumes.
If the inspection confirms a worn drive sprocket, look through the sprocket selection. Unsure whether your machine takes a ring or segments? Ask Amoparts with the serial number, old part number, and clear photos so the replacement matches the undercarriage.


