How to Test a Common Rail Fuel Injector Safely

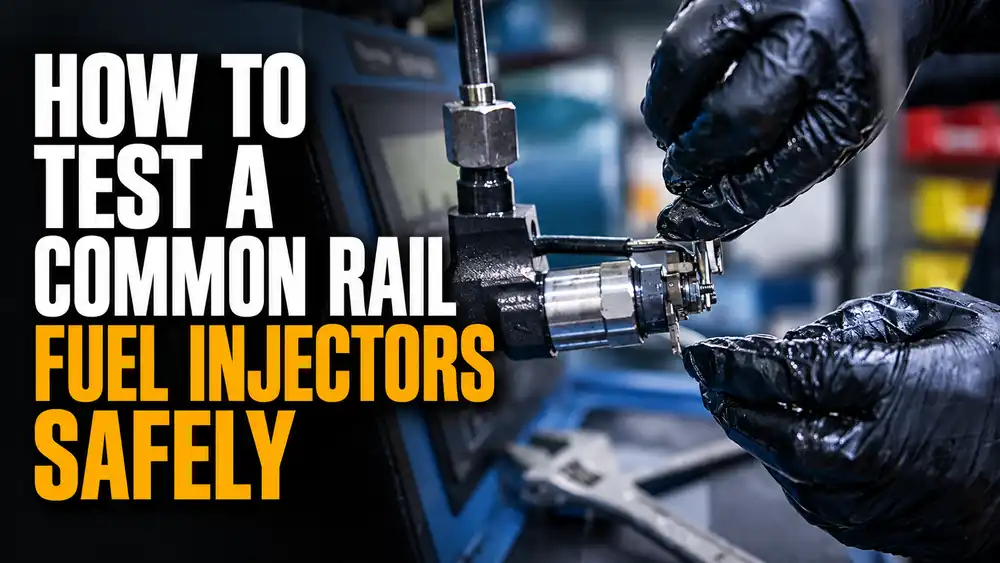
A rough idle, hard start, or weak pull may point to a diesel injector. A clogged filter or air in the fuel can cause the same signs. So can low rail pressure, bad wiring, or poor compression. Testing prevents the owner from replacing a good injector.
This guide explains how to test a common rail fuel injector. It applies to excavators, tractors, loaders, generators, and other diesel machines. The process starts with safe checks on the machine. It ends with test-bench proof for the final decision.
Why Test the Injector Before Replacing It?
A common rail injector must control fuel quantity, timing, and atomization. A fault in any one of these areas can change combustion in one cylinder. However, the operator often sees only a general symptom, such as smoke or low power.
Start by reviewing the common signs of fuel injector trouble. Then test the fuel supply, electrical control, and injector performance in a set order. No single sound, temperature reading, or fault code proves that an injector has failed.
Safety Precautions Before Testing Fuel Injectors
Common rail systems do not work like older low-pressure diesel systems. Delphi warns that these systems can exceed 1,400 bar, or about 20,300 psi. Fuel at that pressure can pass through skin and cause a medical emergency.
Never loosen a high-pressure pipe while the engine runs. Never use a hand or finger to search for a leak. Shut down the engine and follow the waiting time in the service manual. Before opening the system, use an approved tool to confirm that rail pressure has dropped.
Keep dirt away from every open fitting. Cap exposed ports at once. A clean test can prevent the test itself from damaging the pump or injectors.
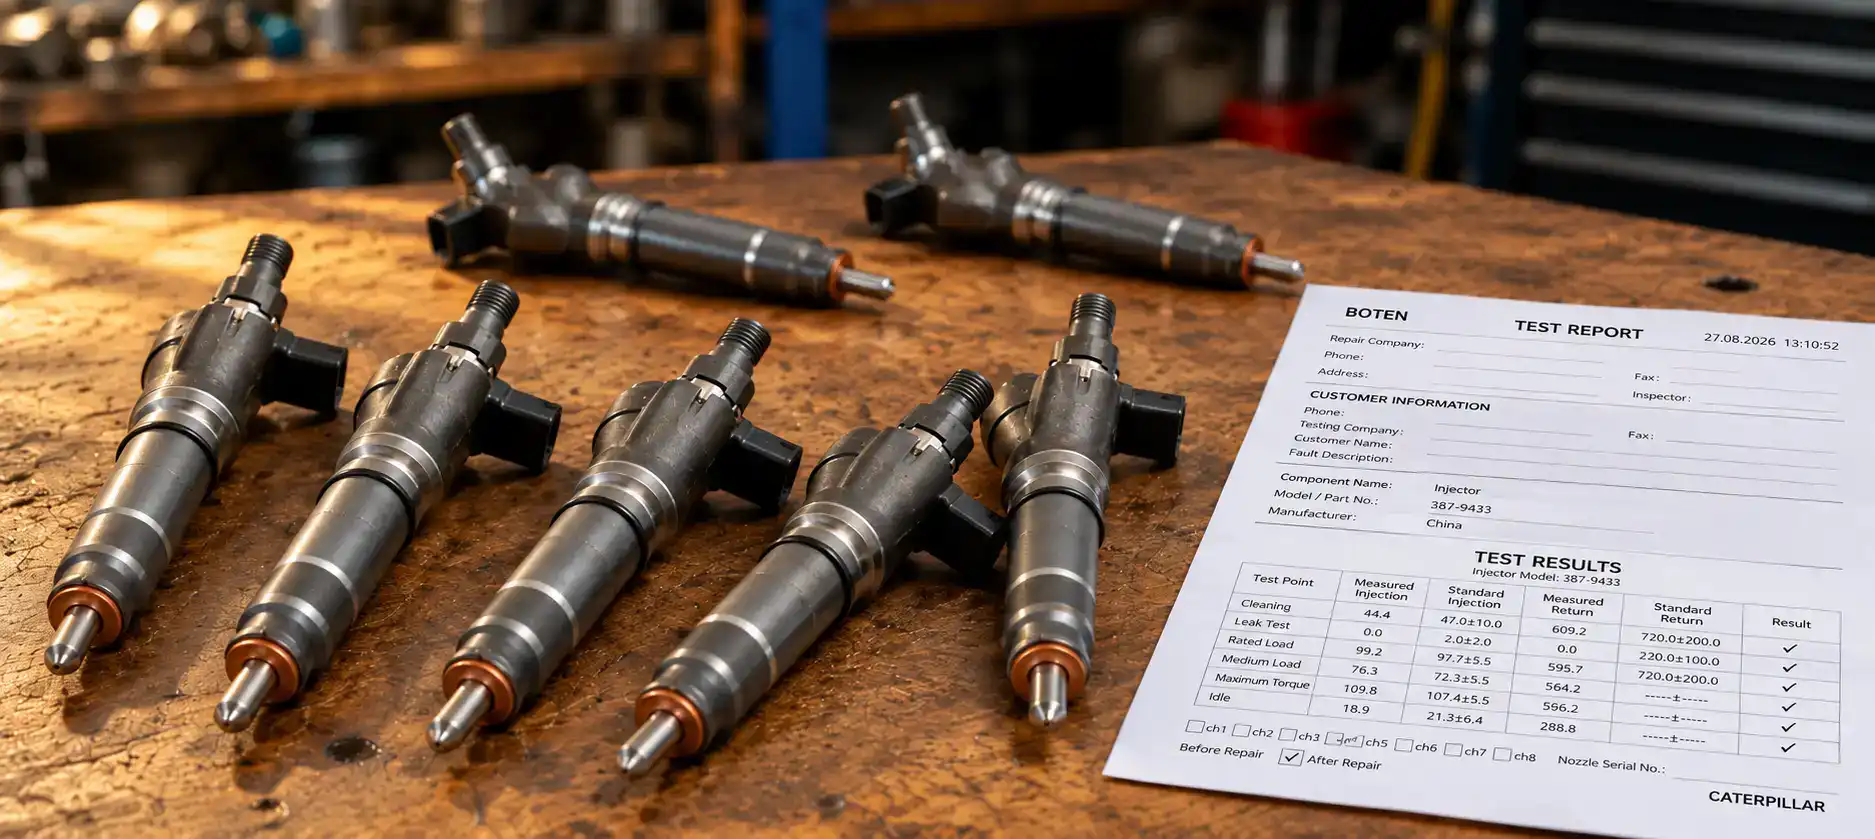
Tools Needed to Test Fuel Injectors
The machine service manual sets the test conditions and pass limits. Record the engine model, serial number, injector type, test temperature, and required rail pressure before starting. Injector resistance and return-flow limits can change by system and part number.
Useful equipment may include:
- An OEM-capable diagnostic tool
- A sealed injector return-flow or leak-off kit
- A digital multimeter and approved breakout leads
- A mechanic’s stethoscope
- An infrared thermometer or thermal camera
- Clean sample containers and caps
- The correct engine wiring diagram and test specifications
Do not apply battery voltage directly to an injector. Some injectors use high-voltage drivers, and piezo injectors need different test methods from solenoid injectors.
How to Test a Common Rail Fuel Injector
Follow the steps in order. Each step narrows the fault without opening the high-pressure side too early.
Step 1: Confirm the Complaint and Inspect the Fuel
Run the engine only if it is safe to do so. Record when the fault appears: cold start, hot idle, acceleration, or full hydraulic load. Note smoke color, unusual knock, warning lights, and recent fuel-system work.
Drain a sample from the water separator or filter into a clean clear container. Look for water, dark sludge, rust, or bright metal. Metal may point to a failing high-pressure pump. It can travel through the rail and damage every injector. Replacing one injector would not correct that cause.
Step 2: Read Fault Codes and Live Data
Save all active and inactive codes before clearing anything. An injector circuit code can point to the injector, connector, harness, or ECM driver. A low rail-pressure code has several possible causes. Check the fuel supply, pump, control valve, relief valve, and injector return flow.
Compare commanded rail pressure with actual rail pressure during cranking, idle, and the test condition listed in the manual. Use the specification for the exact engine. A generic pressure number cannot confirm a fault across different common rail systems.
Step 3: Compare Cylinder Contribution
Use the scan tool’s cylinder cutout, contribution, or balance function when the engine supports it. The engine should react when the tool disables a healthy cylinder. A cylinder that causes little change is weak, but the injector is only one possible cause.
Check compression, valve condition, and wiring before condemning that injector. A good injector cannot correct a cylinder with low compression.
Step 4: Use Sound and Temperature Only as Screening Tests
A mechanic’s stethoscope can confirm that solenoid injectors make a similar clicking pattern. One silent or irregular injector deserves more testing. Normal clicking does not prove correct fuel delivery or spray quality.
An infrared thermometer can also compare exhaust-port temperatures after a controlled start or idle period. A cooler cylinder may not be burning enough fuel. A hotter cylinder may be overfueled, but airflow, compression, timing, and load can change the same reading.
Step 5: Check the Injector Circuit
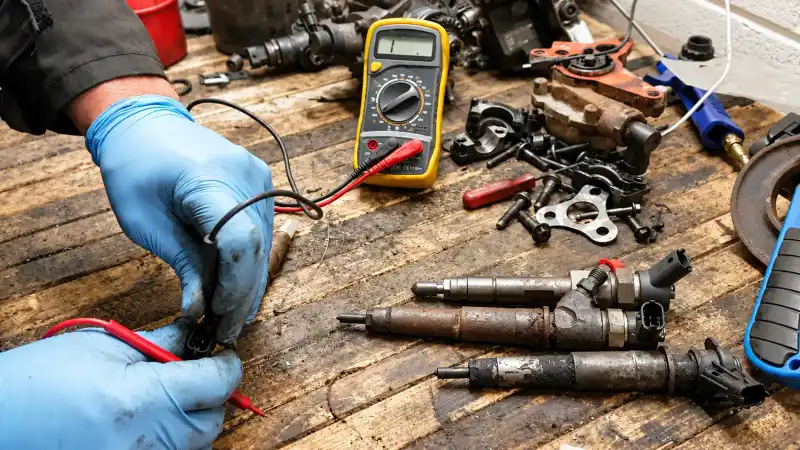
Turn the key off and disconnect power as the service manual directs. Inspect the connector for spread terminals, corrosion, oil, damaged locks, and wires rubbed through near the valve cover. Use the wiring diagram to check supply, control, continuity, and short-to-ground conditions.
Compare injector resistance only when the manufacturer provides a value and method. Delphi notes that resistance alone is not enough to judge a modern common rail injector. A proper electrical test may also check inductance, insulation, and coil response.
Step 6: Measure Injector Return Flow
Connect a sealed return-flow kit that fits the injector system. Keep all test tubes at the same height. Follow the stated engine speed and test time. Stop the test at the stated limit. Compare the volume and the difference between cylinders with OEM data.
One injector that returns much more fuel may have an internal leak. That leak can prevent the rail from building enough pressure during cranking or load. If every injector has high return, first check the fuel and test setup. Then check pump wear and fuel temperature before ordering a full set.
Low return does not prove that delivery and spray are correct. A restricted nozzle or stuck control valve may still need bench testing.
Step 7: Confirm the Result on a Test Bench
Remove an injector only after the on-machine tests point to it and the rail has been made safe. A diesel specialist can test delivery at several operating points, return flow, response time, sealing, and spray behavior. The report should identify the injector number, test plan, measured values, pass limits, and final result.
Bosch states that its DCI 700 system uses test plans from the makers. It can test four injectors, with an average test time of about 15 minutes. The bench also supports injector coding after a qualified repair.
What Each Injector Test Actually Tells You
| Test | Useful finding | What it cannot prove by itself |
|---|---|---|
| Fault codes and live data | Circuit faults, cylinder imbalance, rail-pressure behavior | That the injector is the failed part |
| Sound comparison | Missing or unusual injector actuation | Correct delivery, sealing, or spray pattern |
| Exhaust temperature | A cylinder that burns differently from the others | Whether the cause is fuel, air, or compression |
| Electrical test | Open coil, short, insulation fault, or harness problem | Hydraulic condition of the nozzle and control valve |
| Return-flow test | Excessive internal leakage compared with the specification | Correct injected quantity and atomization |
| Test bench | Delivery, return, sealing, response, and spray performance | The condition of the machine’s pump, wiring, or compression |
When results disagree, do not choose the test that supports the cheapest or fastest answer. Check the test conditions, repeat the measurement, and follow the engine maker’s diagnostic tree.
Real Example: Finding a Bad Fuel Injector
Delphi published a case with a cylinder 1 drift code. The technician checked injector back leakage and rail pressure before removing parts. The tests isolated one injector. A diesel center then tested, repaired, and calibrated it. The center also added a new correction code.
That order matters on heavy equipment too. A code identified the weak cylinder. The hydraulic test split an injector fault from a rail-pressure fault. The bench report then proved the repair. Replacing parts at the first code would not give the same proof.
What If Several Fuel Injectors Fail the Test?
Widen the inspection when the fuel contains water or metal. Do the same when several injectors show high return or a new part fails early. Check the tank, filters, fuel lines, high-pressure pump, rail, controls, and return circuit. Follow the engine maker’s process to clean or replace the affected parts.
Do not move a used high-pressure pipe, seal, or correction code to another use without approval. After installation, enter the new injector code when required. Prime the system by the approved method. Check for leaks without touching the lines. Then repeat the first test condition.
Final Thoughts
To accurately test fuel injectors, multiple test results must match. These include cylinder performance, circuit checks, return fuel flow and dyno tests. If data conflicts, check fuel supply, cylinder compression and control systems first. Do not assume the injector is faulty to fit your pre-set diagnosis.
You can locate bad injectors by checking clicking sounds, temperature, resistance and return fuel flow. This prevents unnecessary part replacements. Once you find the faulty unit, AmoParts supplies dependable replacement injectors. Our wide range of quality parts speeds up repairs and cuts equipment downtime.


