
Starter Motor – Fitting/Installation Guide

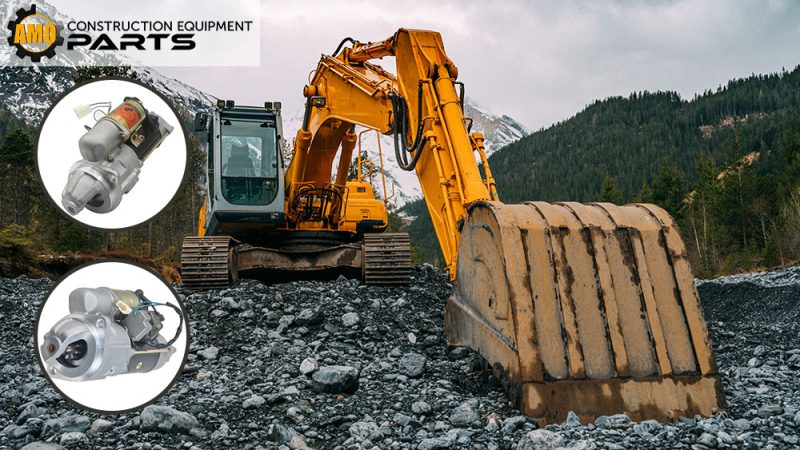
We are happy to assist you with the installation of your excavator starter motor. We know this task may seem challenging, but don’t worry! We’re here to guide you every step of the way with the utmost precision, providing valuable insights along the way.
By carefully following our comprehensive instructions, you’ll gain the confidence and efficiency to successfully complete this installation on your own excavator in the blink of an eye!
1. Verifying the Electrical Start System:
-
- Before considering replacing the starter motor, carefully check the following areas:
- Make sure the battery is fully charged and in optimal condition.
- Double check that the battery leads are properly connected and not damaged in any way.
Check all electrical connections to make sure they are securely installed and free of any corrosion. It’s important to note that disconnecting your vehicle’s battery should be done with caution.
2. Warning: Disconnecting the Vehicle Battery
Please note the following precautions when disconnecting the vehicle battery as this may result in the loss of codes in some vehicle systems. In this case, the system needs to be reprogrammed or recoded. Before disconnecting the battery, it is recommended to follow the recommended guidelines provided by the vehicle manufacturer.
3. Replacing the Starter Motor:
Follow these step-by-step instructions for the successful replacement of the starter motor:
-
- Disconnect the battery leads first, starting with the negative lead, then the positive lead.
- Note the cables connected to the starter motor and label them according to their associated terminals.
- Carefully remove the cable connected to the starter motor.
- Continue to remove the starter motor from the engine.
- Before installation, make sure the new starter motor matches the specifications of the starter motor just removed. Compare details such as tooth count, flange design, electrical connections, voltage rating and direction of rotation.
- Before installing the starter motor, perform a thorough inspection according to the following standards:
- The gear ring should be free of any damage or dirt. If soiling is severe, clean the flywheel housing accordingly.
- The starter flange and flywheel housing surfaces must be clean and free of corrosion.
- Install the starter motor to the engine and tighten the mounting bolts according to the instructions provided by the vehicle manufacturer.
- Connect the starter motor, making sure each cable is properly connected to its respective terminal. Take care to route cables correctly and ensure they do not come into contact with hot or abrasive surfaces.
- Reconnect the battery leads to the battery, starting with the positive lead, then the negative lead.
- Before starting the vehicle, make sure the battery is fully charged and the body and engine are properly grounded.
- Finally, start the engine and confirm that the starter motor is working properly.
AMOParts Can Help With Your Needs
If you are unfamiliar with your automobile engine, replacing the starting motor might be a difficult process. This guideline should make things easier for novices who don’t want to invest thousands at a service center with hefty labor cost to replace starter motors.
It should be noted that the exact methods needed in disassembling and installing the new starting motor may differ across automobile makes and models. But, with the assistance of your owner’s or service handbook, you should be able to explore your engine bay.


